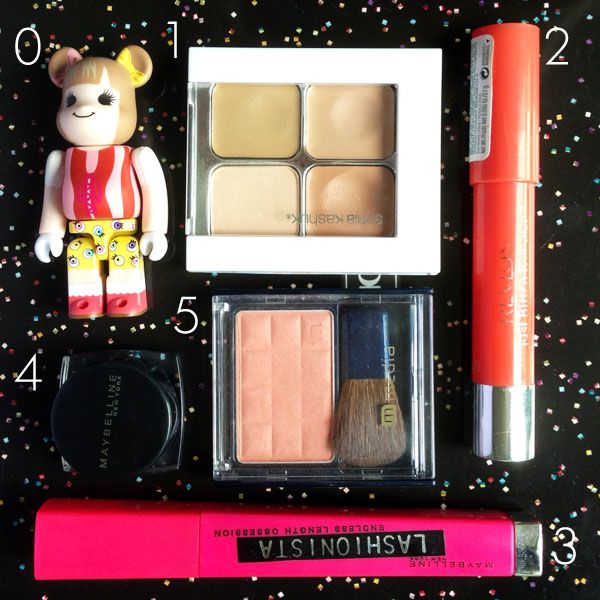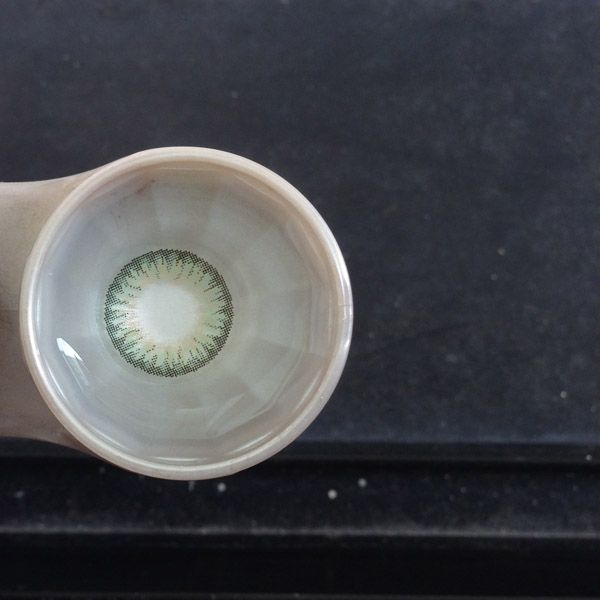
having worn the world grey previously, i laid my hands on something more adventurous this time..
it's the world green, also known as CM-903.
i first saw it on the angelcolor website, aya was sporting it and it looked so good on her,
the green doesn't seem over powering, from the photo i thought it looked quite natural (as in it blends well with the face, unlike the nudy lens).
it took me a while to figure out how to rock this pair of lens though,
the first time i wore it i felt so weird because i didn't pair it with the right make up look.
took some trail and error but i think i've found the perfect combination.
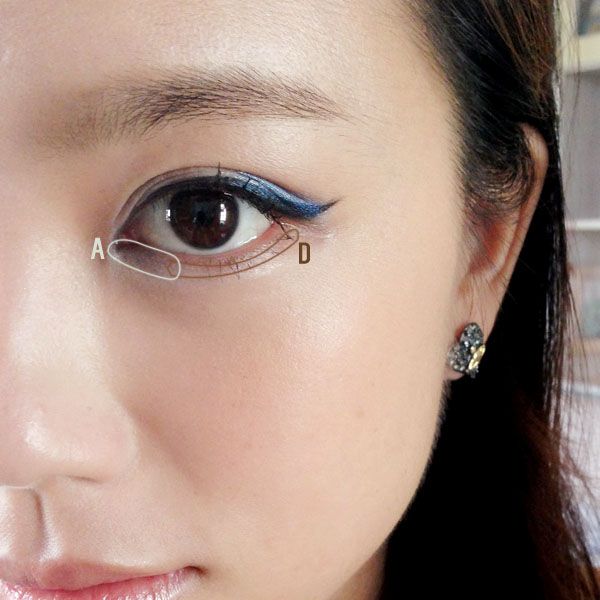
ENLARGING EFFECT: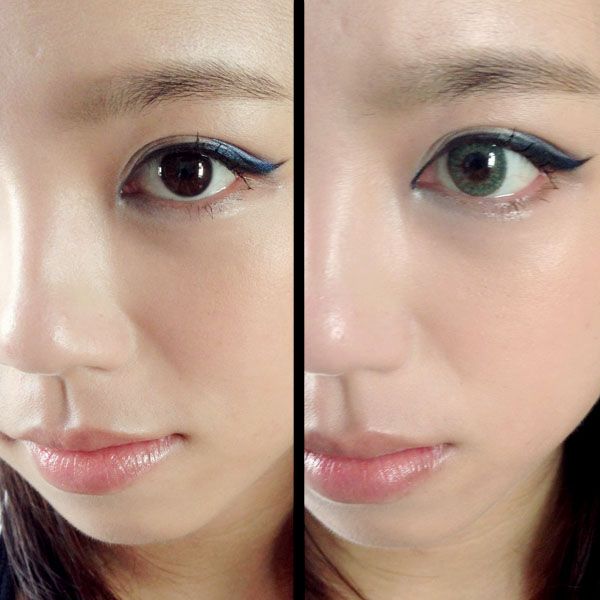
there is a tiny bit of enlargement of my iris thanks to these lens,
it's not as obvious as the circle lens because there's a lack of a black rim along the circumference of the lens.
can you see the little part of eye white that was present right underneath my iris disappeared after wearing the lens?
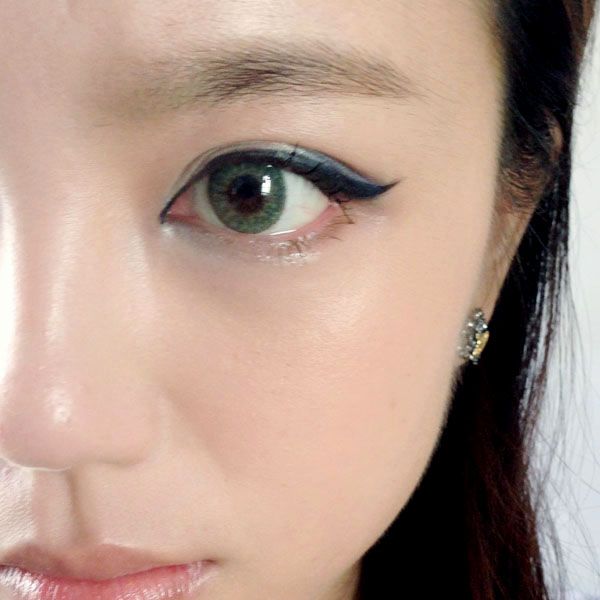
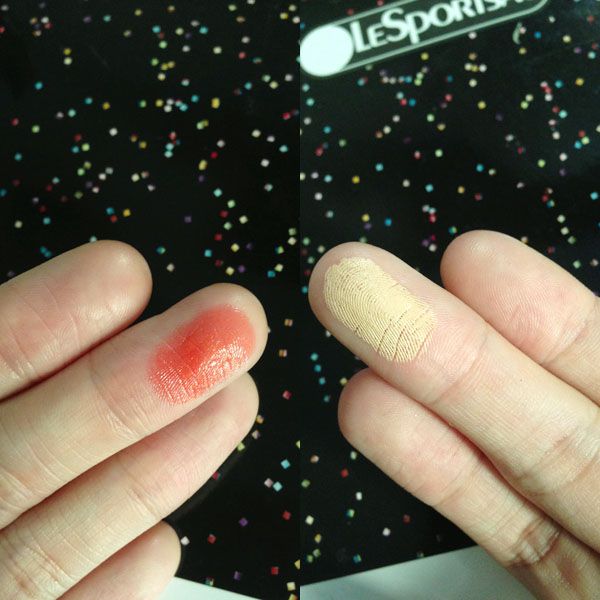
CLOSE UP: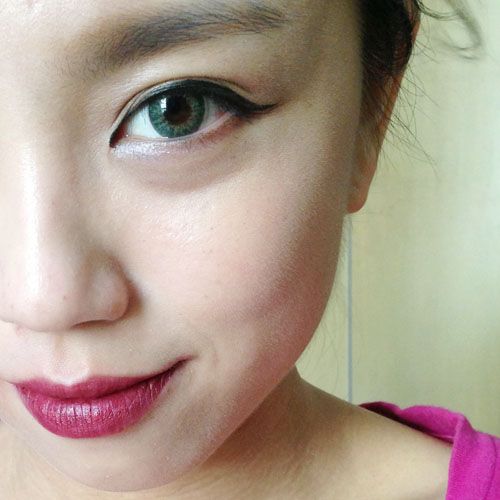
while i find the colour to be extremely pretty, the pigmentation level is just right,
my friends told me it looks quite scary when they're looking closely at my eyes.
it is pixelated, but honestly speaking..
it's not as bad as the nudy lens in my opinion. :P
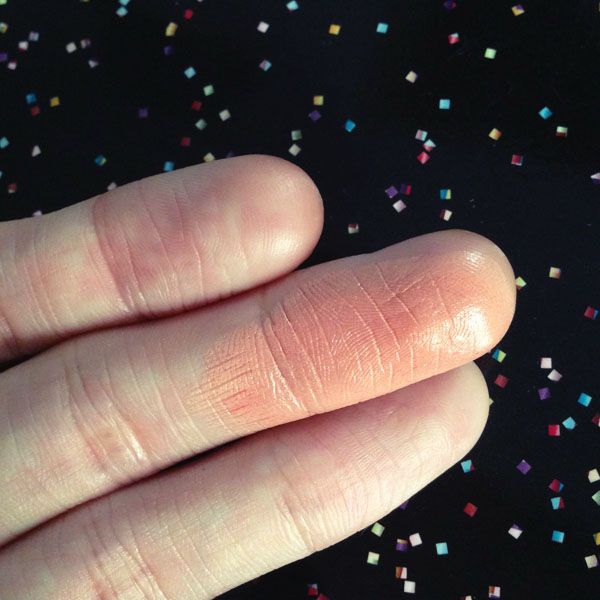
i have realized that the lens take on different shades under different lighting.
in the first photo it was under natural light in the afternoon, the circumference take on a darker shade and it looks emerald.
in the second photo i was still using natural light but it was in the morning, so the intensity and color of the sunlight made the lens look like a single shade of green instead of a spectrum of colors (as shown in the first photo).
how the lens look depends on the lighting you're in!
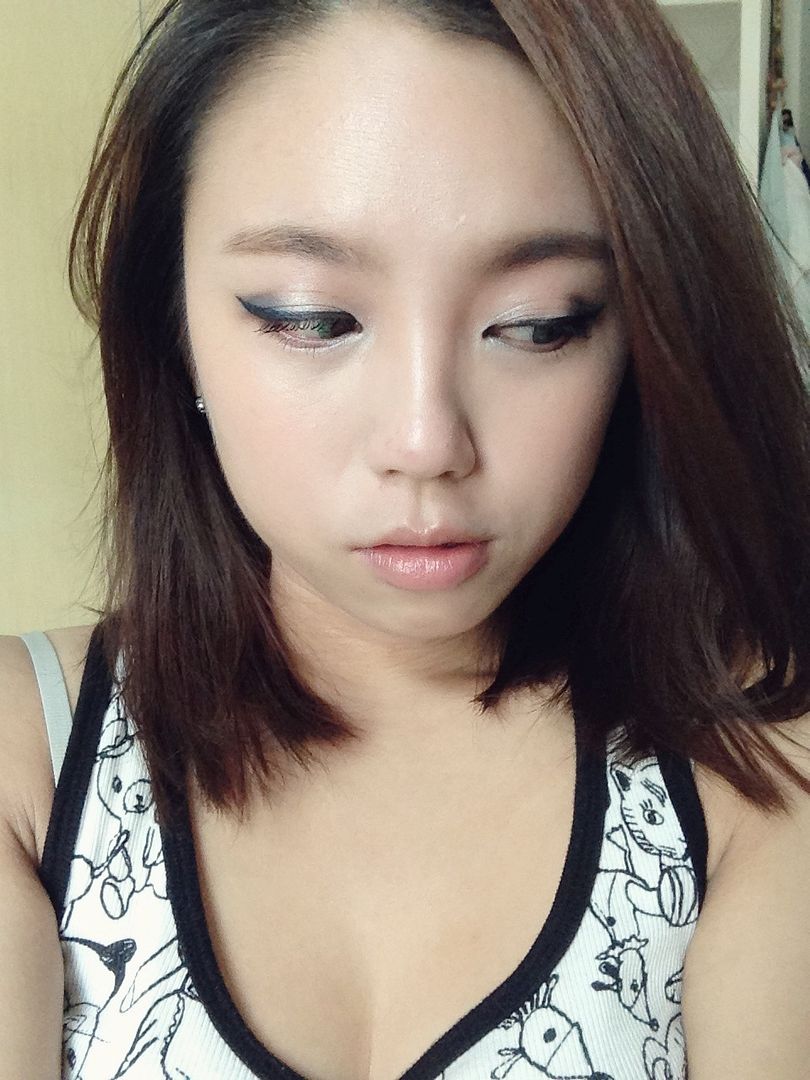
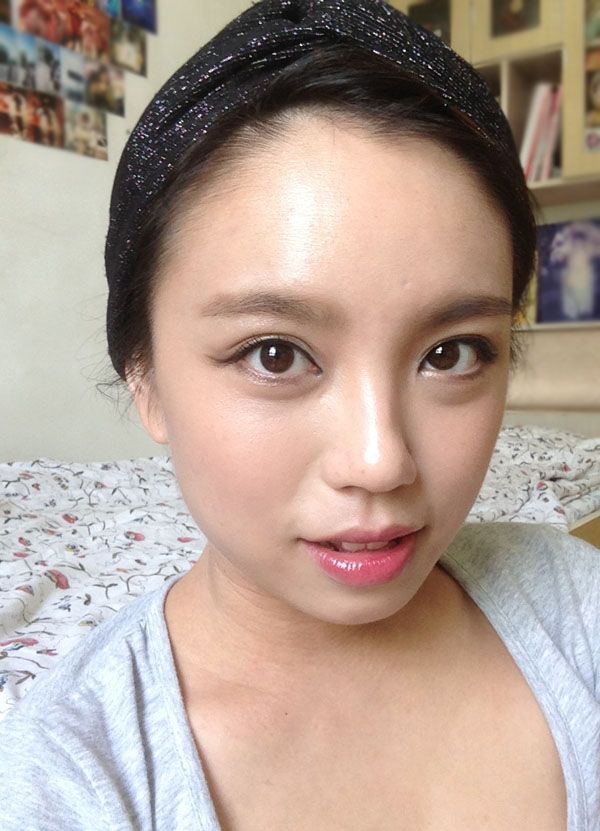
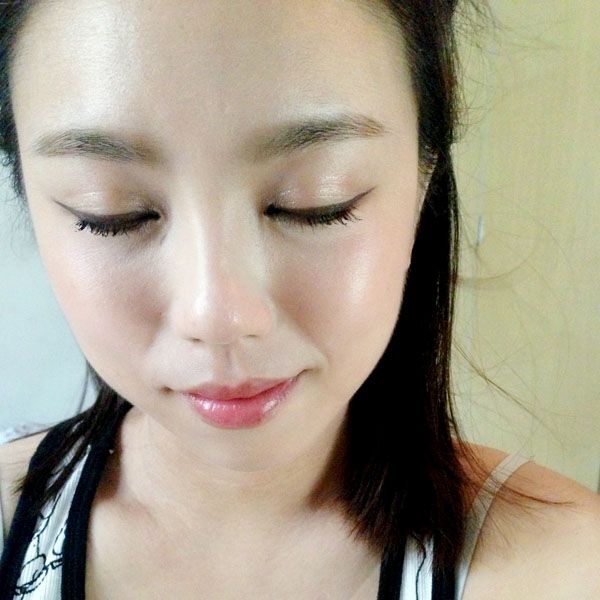
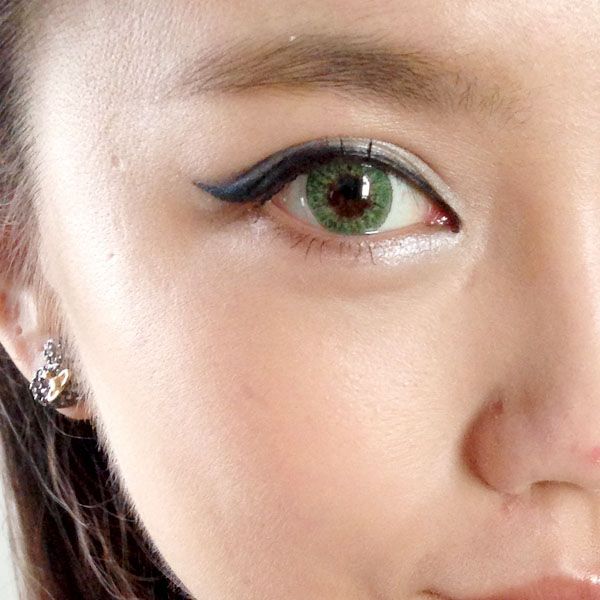
LOOKS&VARIATIONS:
this is how it looks with respect to my entire face. i like it's slight enlargement effect to be honest, my iris look so much more natural (in terms of size) with this pair of lens as compared to the hurricane browns.
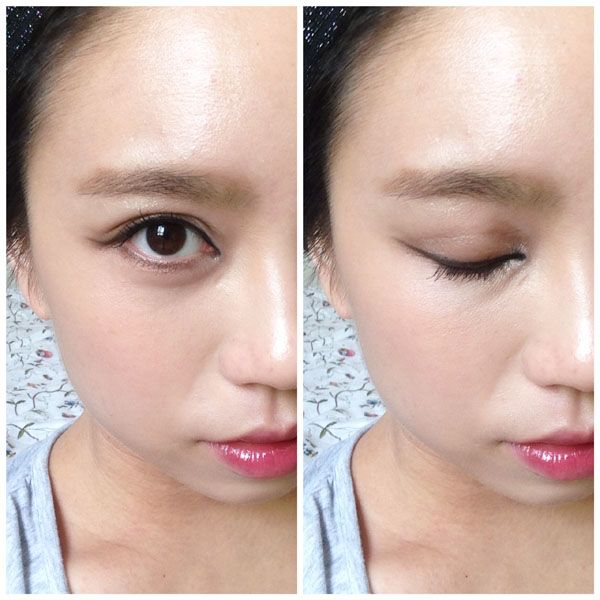
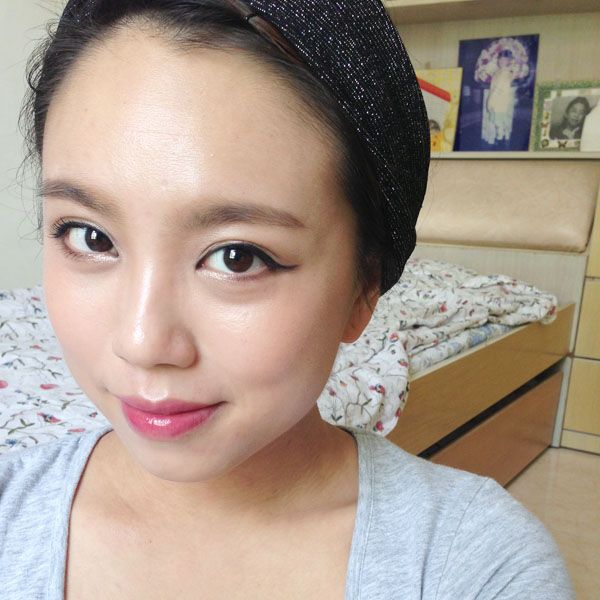
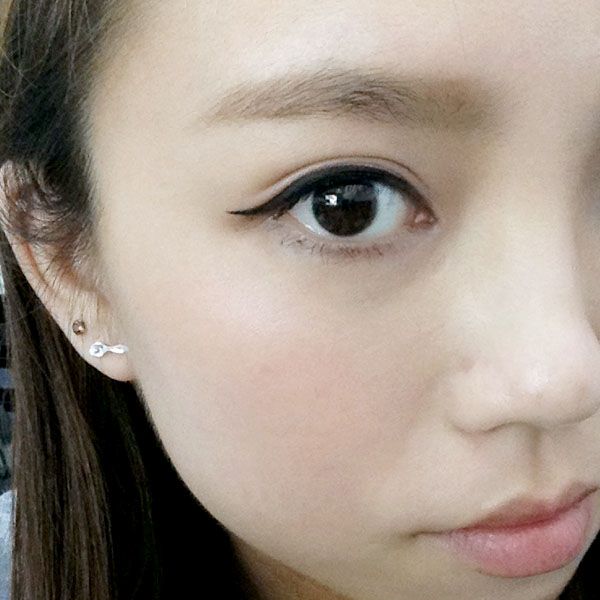
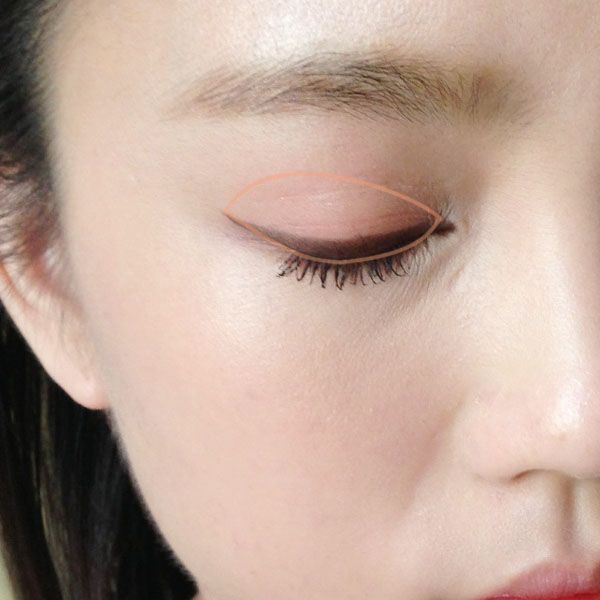
winged eyeliner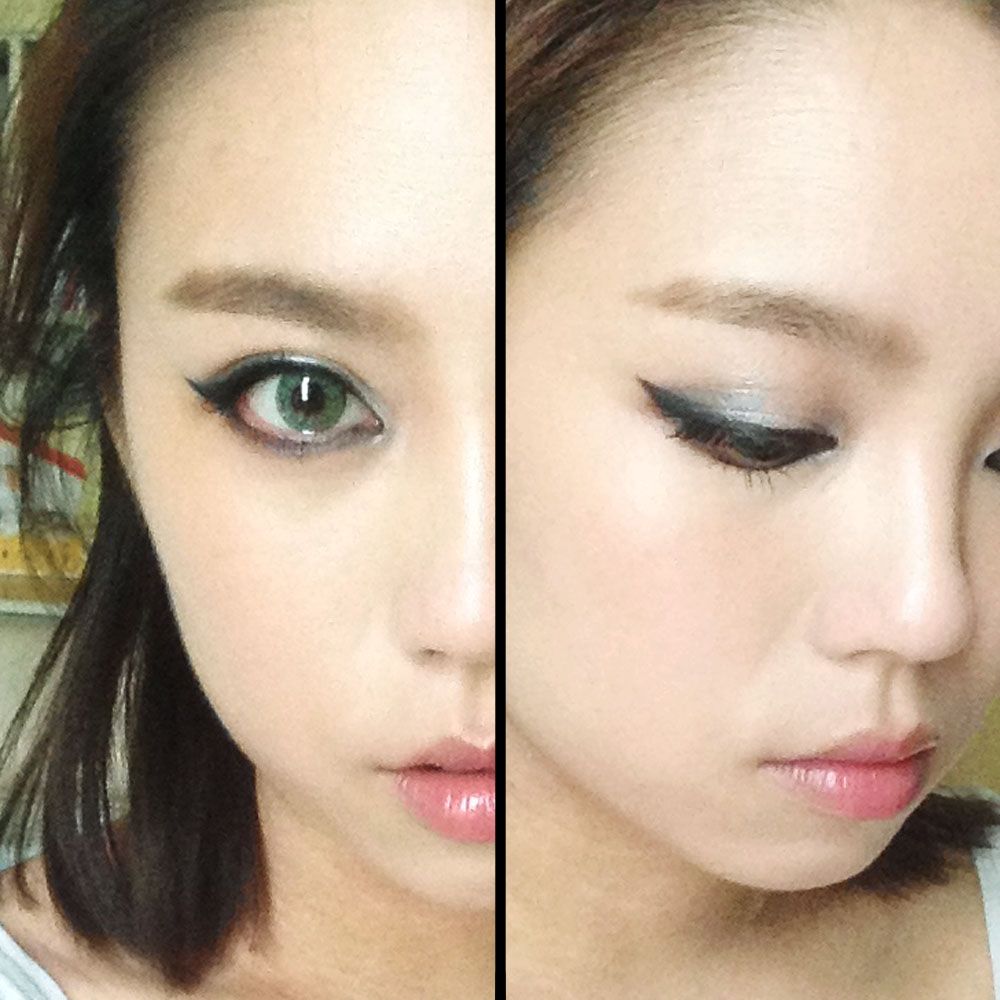 [keypoints]
- light metallic shade over eyelid
- darker metallic shade on outer third of upper eyelid
- black winged eyeliner on top lash line
- black liner smudged out with black eyeshadow on bottom lash line
remember i said i found the perfect look to rock this pair of lens? this is what i'm talking about.
since we're playing with contrast, the black eyeliner is a MUST when i wear this pair of lens.
the metallic shade was there to enhance the look by sandwich-ing the black eyeliner such that the light-dark-light combination will bring about the contrast that i was hoping for.
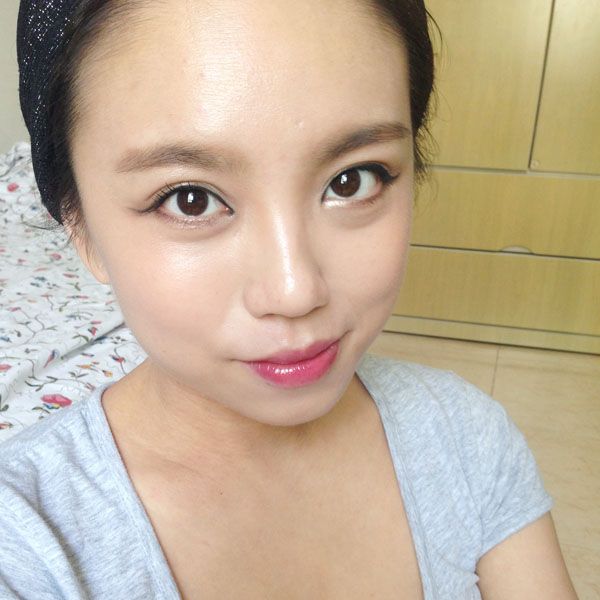
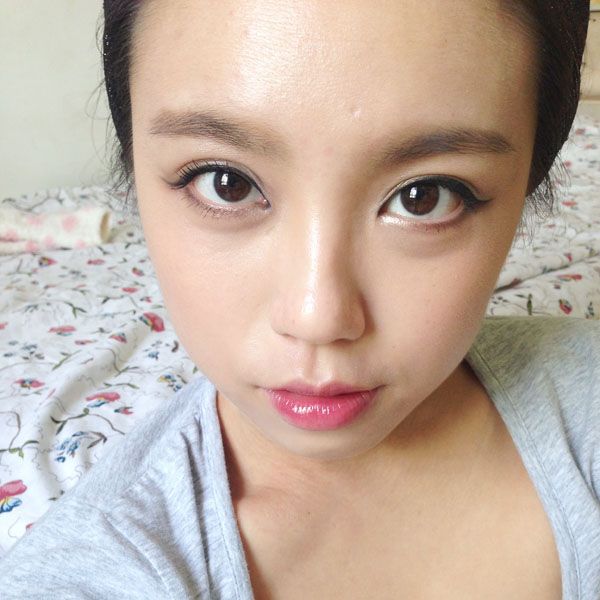
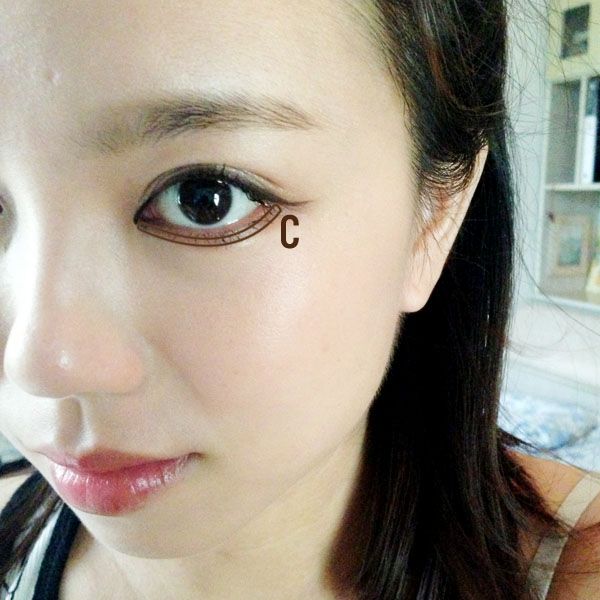
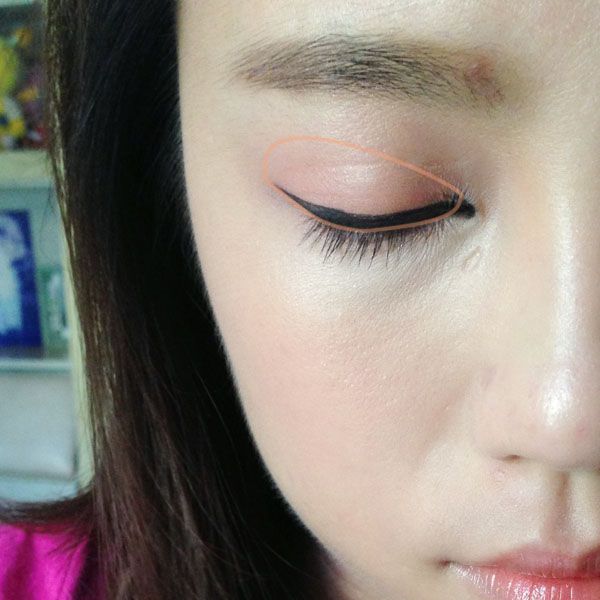
classic eyeliner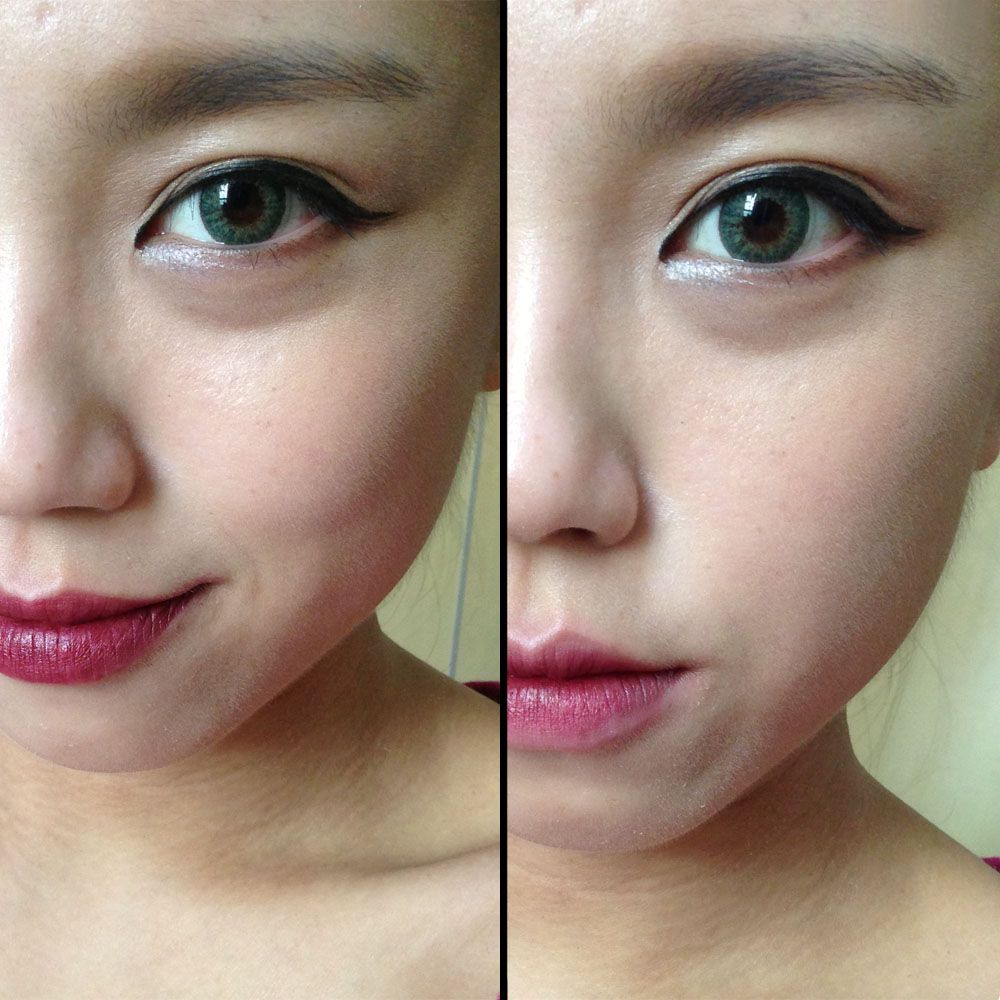
[keypoints]- black eyeliner on top lash line, horizontal wing to elongate eyes
- matte brown powder to lightly line the outer third of the lower lash line
- light color eyeshadow to highlight inner corner of eyes
- i forgot to wear mascara that day, i normally would spam mascara for a simple look like this.
this look is so plain but there is still the "pop" factor in it all thanks to the black eyeliner!
i didn't want to go too overboard with the eyeliner that day as i was trying to go for a friendlier look,
gotta agree with me that the first look was kind of unapproachable, right?
eyeliner and eyeshadow variationsi've experimented with both the black and brown eyeliner for this pair of lens, and i've come to realize that the black liner suits the overall the most.
why so? because there's a huge contrast between the dark eyeliner and light coloured lens,
it's the contrast that gives my eyes the pop.
somehow it just looks weird when i pair it together with the brown liner.
you be the judge! maybe it's just me *shrugs*.
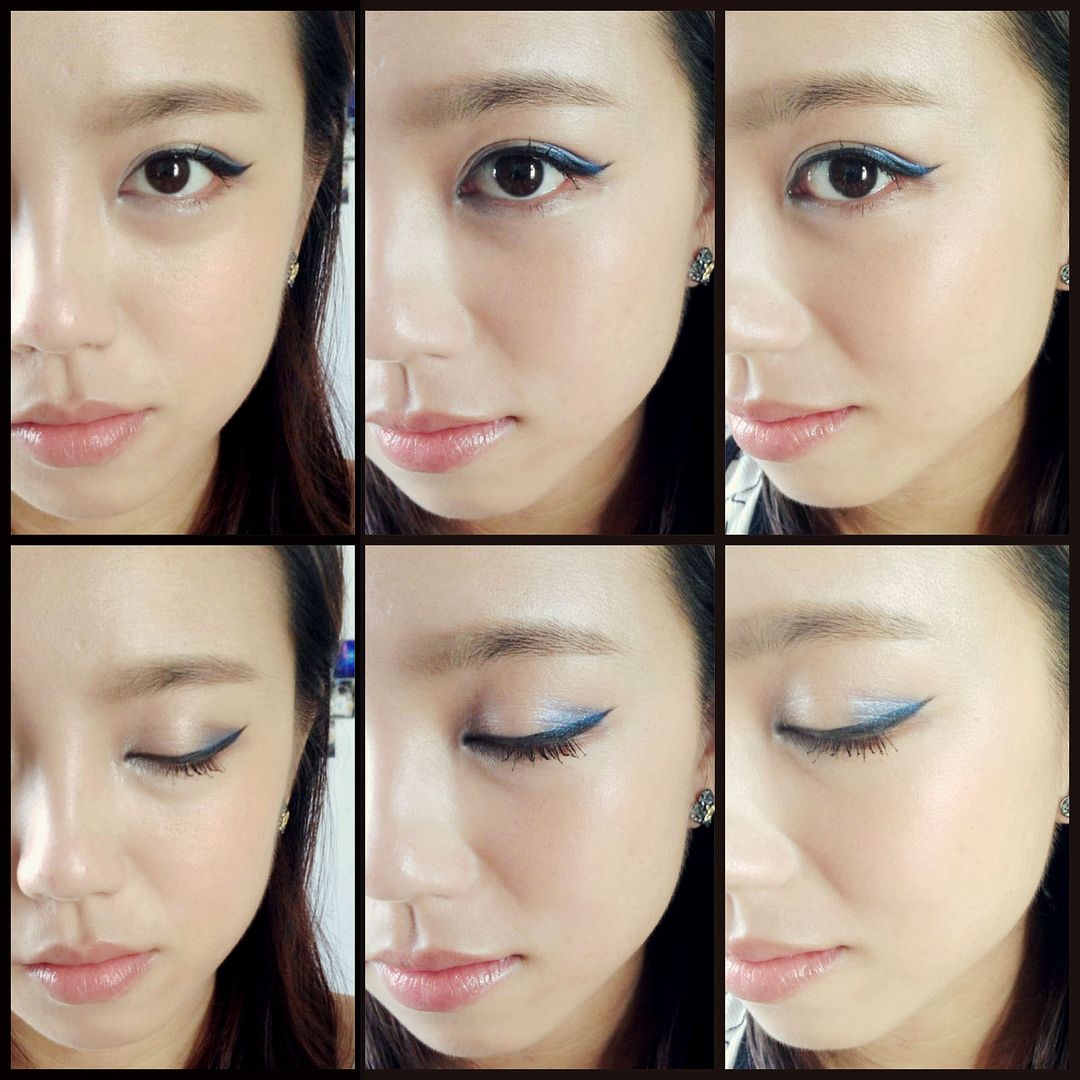
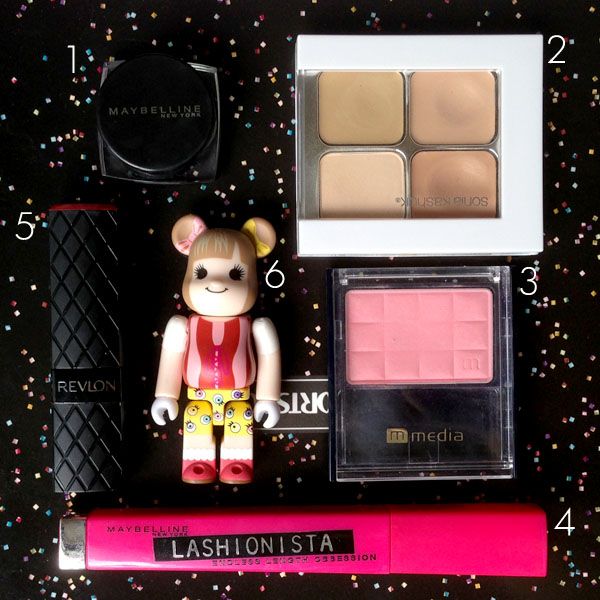
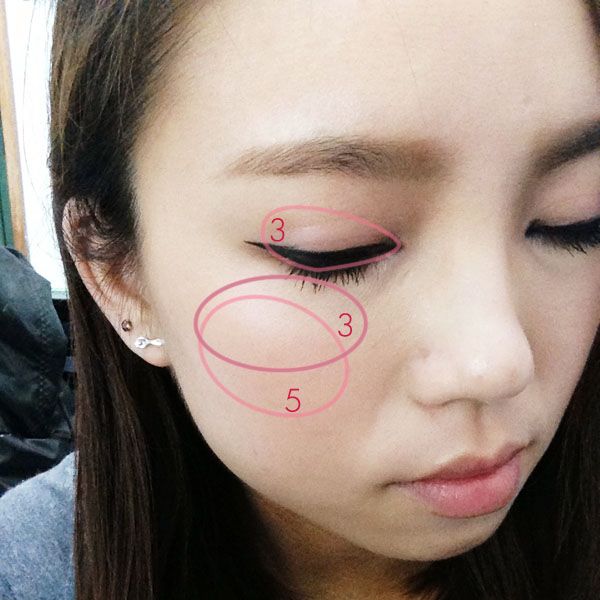
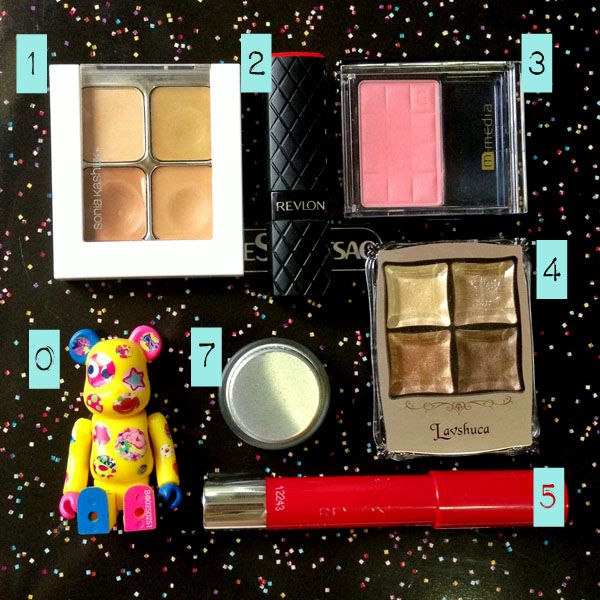
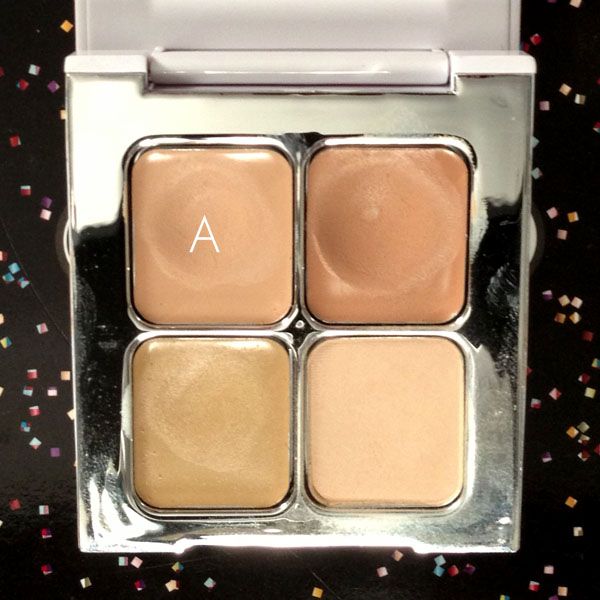
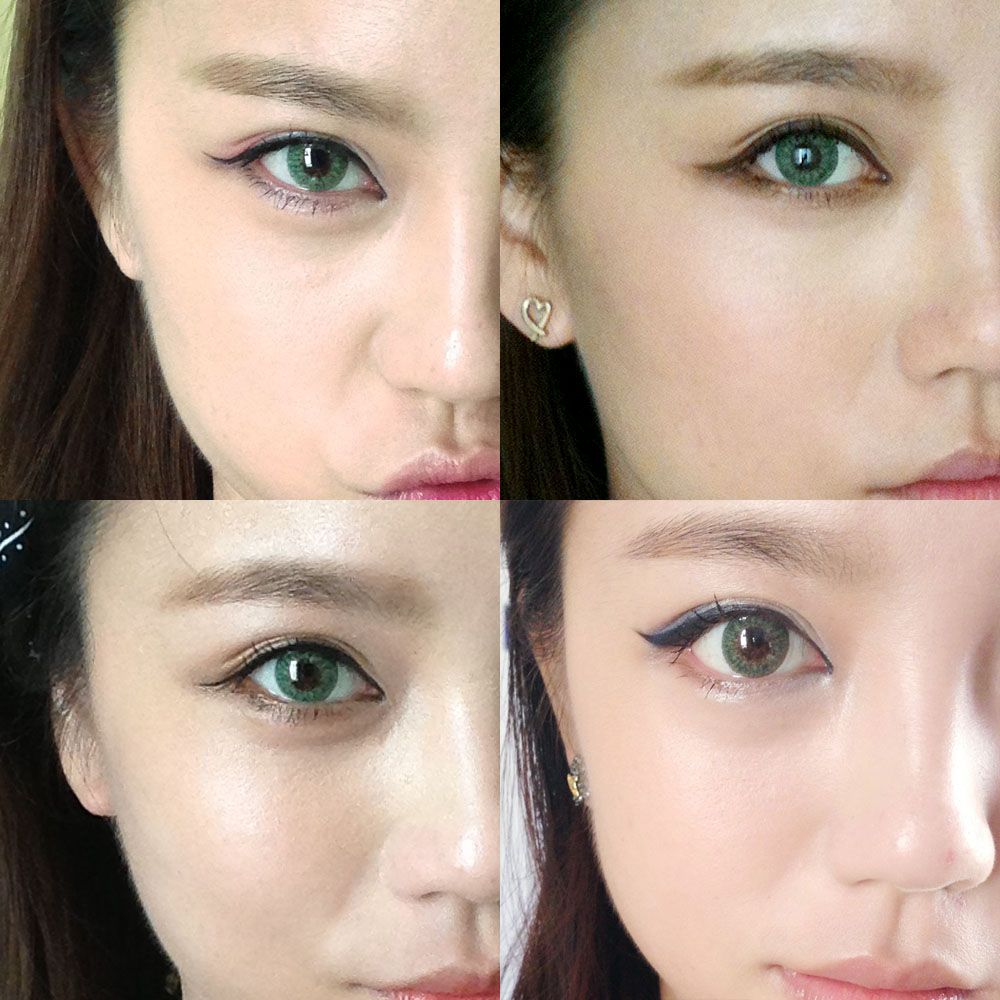 [keypoints]
from top left in clockwise direction:
1. pink eye shadow + black eyeliner.
2. brown eye shadow + brown eyeliner.
3. brown eye shadow + black eyeliner.
4. blue eye shadow + black eyeliner.
over here i've tried the lens with different eye shadows and different style of eyeliner.
maybe it' sjust me, but i thought that the brown eyeliner is a little too "soft" for this lens, it doesn't give it the contrast that it needs.
just need that black liner to rock this pair of lens.
=======
ENDING NOTES:i've actually tried on the world grey, brown and finally the green now.
i have a hard time ranking which is my favourite, because i like them all equally.
these lens serve me the purpose of bringing contrast to my eyes, since my original eye color is dark, by lightening it up and then contrasting it against a black eyeliner, it creates such a sophisticated look.
however i'd say this lens isn't for the faint hearted,
please do not wear it for a job interview.
hahahaha! i stuck to my hurricane browns for that purpose.